一、說明
利用Hexo+Github建立前端型Blog
二、安裝
1.依賴
- Hexo
- nodejs
- GitHub Pages(github.io)
2.安裝環境
下載並安裝 Git

安裝 Node.js
參考:Node.js 安裝配置
3.初始化工作目錄
- 在D碟建立工作目錄workspace
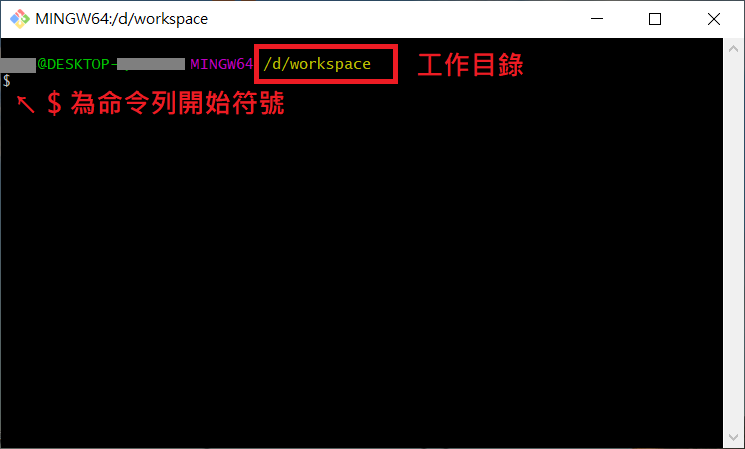
- 工作目錄上按右鍵,打開 Git Bash


4.安裝Hexo
Git bash中,透過 npm 即可完成 Hexo 的安裝。
1 | $ npm install -g hexo-cli |
5.初始化Hexo
一旦 Hexo 完成後,請執行下列指令,Hexo 會在指定資料夾中建立所有您需要的檔案。
1 | $ hexo init blog-src |
6.設定Hexo
網站 配置 檔案,您可以在此配置大部分的設定。
1 | title: Mars's Blog |
重要參數說明:
url: 你的 GitHub Pages 網址(格式:https://<username>.github.io)post_asset_folder: 設為true可讓每篇文章擁有獨立的資源資料夾,方便管理圖片deploy.repo: 你的 GitHub Pages repository URL
部署前準備:
7.安裝測試伺服器
1 | $ npm install hexo-server --save |
8.下載主題
1 | $ git clone https://github.com/cgmartin/hexo-theme-bootstrap-blog.git themes/bootstrap-blog |
更多主題可至 Hexo Themes 瀏覽,選擇喜歡的主題後按照該主題的安裝說明操作
9.修改主題設定
1 | # File: themes/bootstrap-blog/_config.yml |
訪問計數
1 | # File: themes/bootstrap-blog/layout/_partial/footer.ejs |
三、指令
1.建立新文件
1 | $ hexo new [layout] <title> |
2.產生靜態檔案
1 | hexo generate |
3.清除快取
清除快取檔案 (db.json) 和已產生的靜態檔案 (public)。
1 | $ hexo clean |
4.啟動伺服器
1 | hexo server -p 80 |
5.查看結果
前往 http://localhost 查看建構後的結果
6.部署網站
上傳至Github
1 | $ hexo deploy -g |
首次發布完整流程:
1 | # 清除快取 → 產生靜態檔案 → 部署至 GitHub |
常見部署問題:
- SSH key 權限錯誤:確認 SSH key 已加入 GitHub(
ssh -T git@github.com測試連線) - deploy 失敗:檢查
_config.yml中的deploy.repo是否正確 - 主題顯示異常:執行
hexo clean清除快取後重新產生
四、其他應用
添加文章目錄
添加toc.ejs文件
- 在主題目錄下layout/_partial文件夾中新建toc.ejs文件,存放文章目錄的代碼。
1
2
3
4
5<% if (post.toc != false) { %>
<div id="toc">
<%- toc(post.content, {list_number: false}) %>
</div>
<% } %>這裡的toc()函數就是Hexo官方提供的輔助函數
添加到頁面中
主題目錄文章佈局文件layout/_partial/article.ejs,尋找代碼:
1 | <%- post.content %> |
在前面添加了一行 <%- partial(‘toc’) %> 引用了目錄代碼,變成:
1 | <%- partial('toc') %> |
隱藏ol li前方數字
在source/css/custom.css增加樣式:
1 | #toc ol li{ |
五、參考資料
- Hexo
- Hexo Themes
- Markdown 語法說明
- HEXO小書
- 安裝 Git(Git 安裝教學)
- 安裝 Node.js(Node.js 安裝教學)