一、說明
- 使用PHPUnit進行單元測試,並產生測試報告
二、環境
- Ubuntu 20.04/22.04 LTS
- Nginx
- PHP 8.x
三、安裝
3.1 PHP 檔案包(PHAR) - 全域安裝
將PHPUnit安裝到Linux開發環境中,以免在各專案中重複安裝
1 | $ # 抓取phar檔案包(以 PHPUnit 10.x 為例) |
PHPUnit 10.x 支援 PHP 8.1 以上; PHPUnit 9.x 支援 PHP 7.3 以上; PHPUnit 7.X 需 PHP7.1 以上
3.2 Composer安裝(推薦)
1 | $ composer require --dev phpunit/phpunit |
可參考 Composer 安裝
四、Xdebug安裝
如果要做程式碼覆蓋率報告,需安裝xdebug
1 | $ sudo apt-get install php-xdebug |
五、產生設定檔
5.1 指令:
1 | $ phpunit --generate-configuration |
5.2 設定目標:
1 | PHPUnit 6.5.14 by Sebastian Bergmann and contributors. |
- autoload檔案:vendor/autoload.php
- 測試目錄:tests
- 來源目錄:src
5.3 修改設定-程式碼覆蓋率
1 | $ vi phpunit.xml |
全部統計覆蓋率,不使用@covers標籤聲明統計範圍
1
forceCoversAnnotation="false"
增加程式碼覆蓋率報告參數
PHPUnit 9.x 及以下版本:
1 | <logging> |
PHPUnit 10.x 新版格式:
1 | <coverage> |
說明:
<coverage>與<report>定義報告格式與輸出位置<source>中的<exclude>用來排除不需要覆蓋的目錄或檔案
六、編寫PHPUnit 測試
要點:
- 針對類別Class的測試寫在類別
ClassTest中。 ClassTest(通常)繼承自PHPUnit\Framework\TestCase。- 測試都是命名為test*的公開(public)方法。
也可以在方法的文檔註釋塊(docblock)中使用@test標註將其標記為測試方法。 - 在測試方法內,類似於assertSame()(參見appendixes.assertions )這樣的斷言方法用來對實際值與預期值的匹配做出斷言。
Example 2.1:
1 | <?php |
七、執行測試
1 | # 有設定好phpunit.xml檔案,直接執行phpunit即可 |
執行結果
1 | PHPUnit 6.5.14 by Sebastian Bergmann and contributors. |
八、程式碼覆蓋率分析
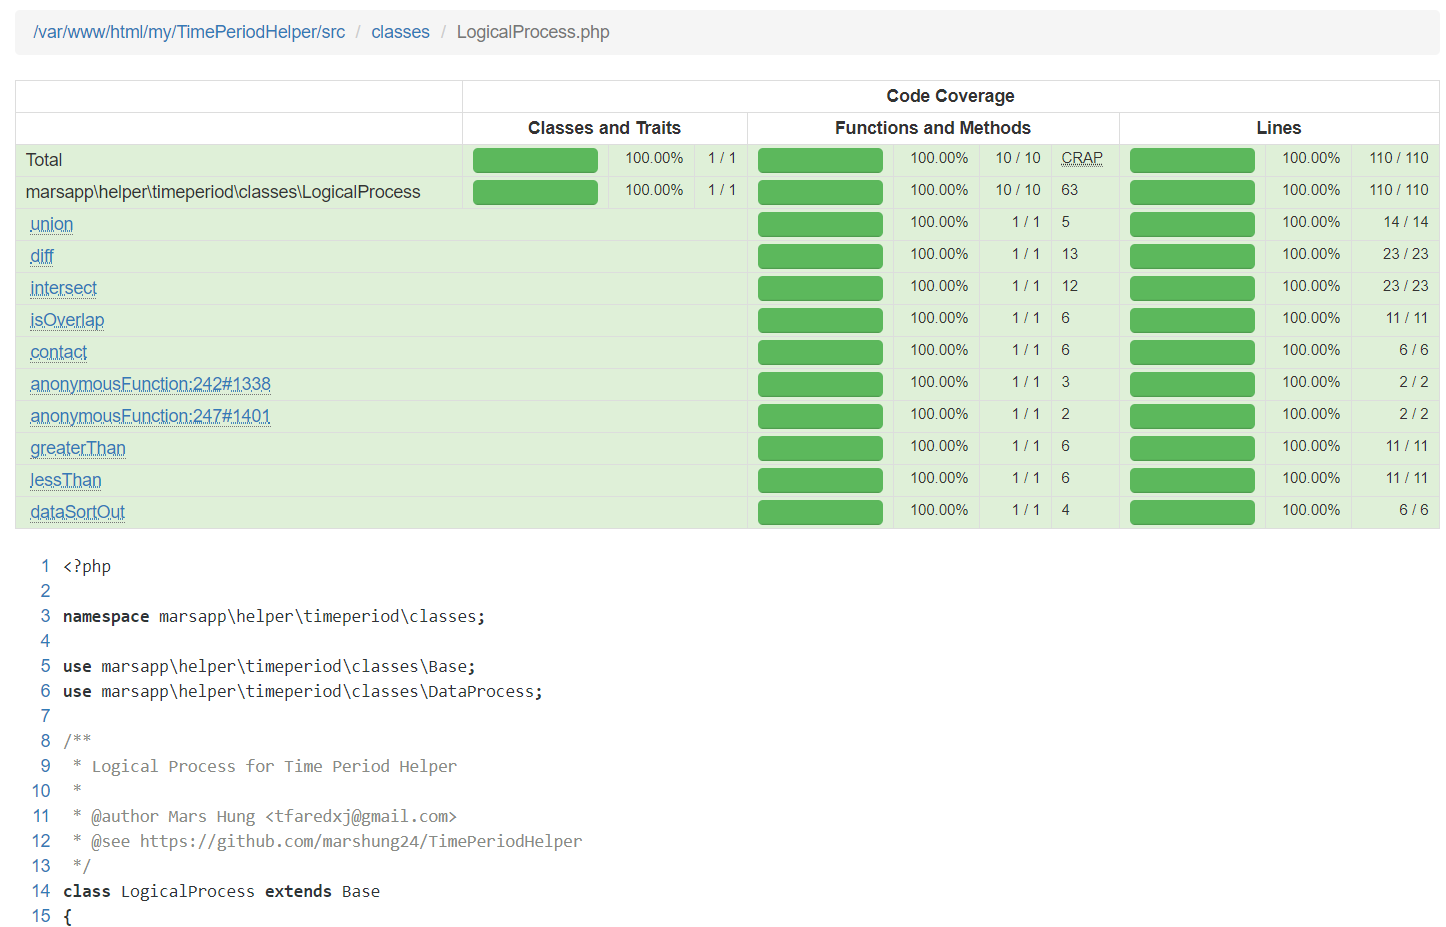
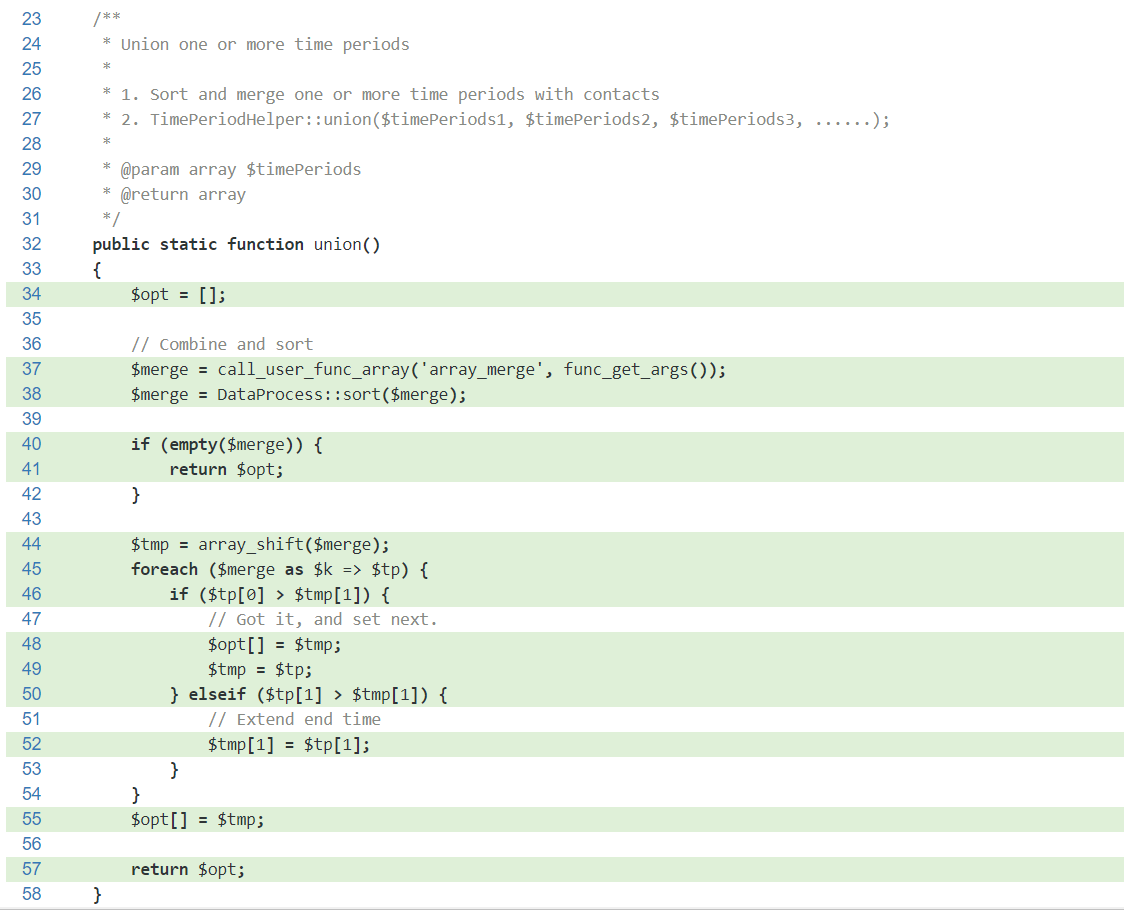
覆蓋率分析產生後,存放於 reportPatch/ 中,畫面如下圖
總覽

覆蓋率報告-程式檔總覽

覆蓋率報告-覆蓋狀況

覆蓋率報告-圖例

九、常用測試函式
9.1 相等性斷言
- **assertEquals($expected, $actual)**:驗證兩個值是否相等
1
$this->assertEquals(5, $calculator->add(2, 3));
- **assertNotEquals($expected, $actual)**:驗證兩個值不相等
1
$this->assertNotEquals(10, $calculator->add(2, 3));
9.2 狀態斷言
- **assertEmpty($value)**:驗證值為空(空陣列、空字串、null、0、false)
1
$this->assertEmpty($user->getErrors());
- **assertInstanceOf($expected, $actual)**:驗證物件是指定類別的實例
1
$this->assertInstanceOf(User::class, $userService->create($data));
9.3 其他常用斷言
- **assertTrue($condition)**:驗證條件為 true
- **assertSame($expected, $actual)**:驗證類型與值完全相同(嚴格比較)
- **assertContains($needle, $haystack)**:驗證陣列包含特定元素